
Learn how to put your company logo on the assessment, create a custom testing URL, customize invitation messages, and other tweaks.
Getting started.
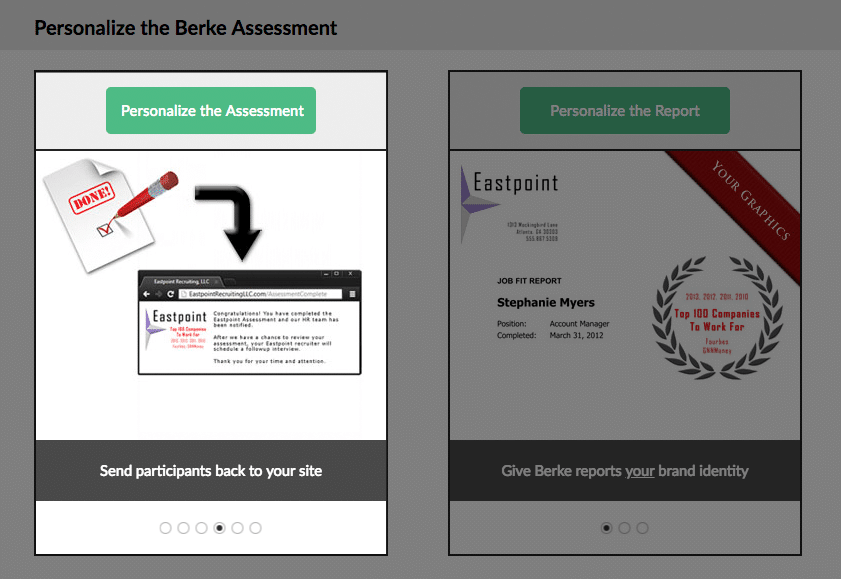
To begin customizing your assessment, you must first log into your Berke account. It will open to your People Tab. Click the “settings” link in the navigation on the upper right to open up a menu and select “Personalize.” You have the option to personalize your assessments or your reports. For this tutorial, we will be discussing assessments. Select “Personalize the Assessment” to begin customizing.
First, you have the option to upload your company logo. Your logo will appear on the assessment itself in various places as well as within emailed invitations to candidates. We list the recommended dimensions and format types in this section. You can upload a file with larger dimensions, but it is advised that the image should retain the same ratio for the best possible display.
By default, your company name is used to create the URL domain under which your assessments will live. You can customize the beginning of the URL to be something other than a company name if you prefer.
Customize messages.
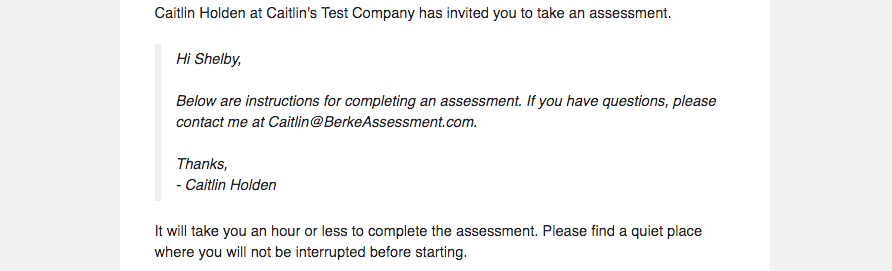
Below this is an area where you can compose your message to candidates when inviting them to take an assessment. It is designed as a template so that you can insert dynamic data tags such as the candidate’s name, manager’s name, or job title that will change according to each candidate’s application situation and add a personal touch to your message. Also, you can set the number of days that should elapse before the candidate is sent a reminder to finish an incomplete assessment.

You can customize the messages candidates read when they begin the assessment as well as when they complete it. You can also set a URL for candidates to redirect to upon completion rather than display a message.
Collect and confirm information.
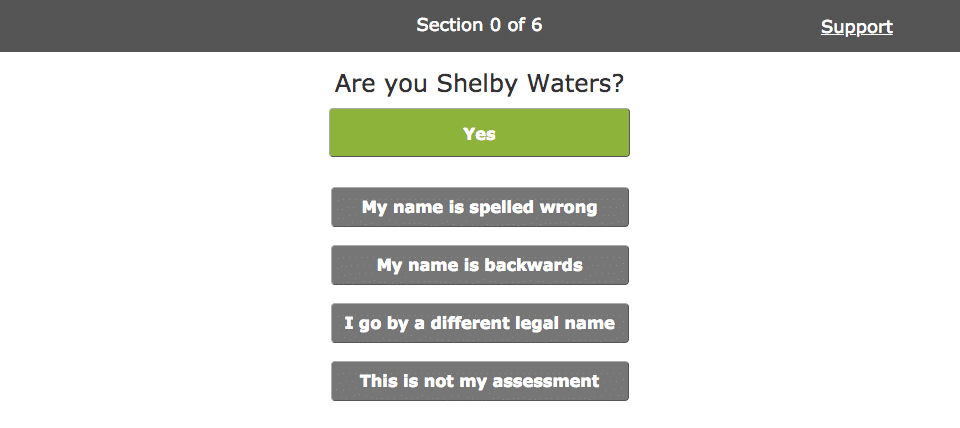
Any time someone begins an assessment, they are asked to verify their name first, but you can also ask them to provide an email address or phone number during this step as well.
In the instance an emailed invitation is unable to be delivered to the email address provided, you can designate an email to which all failed delivery notices should go or disable fail notifications. By default, the notices will be delivered to the email associated with the candidate’s hiring manager.
Similarly, if a candidate indicates at the start of the assessment that their name differs from what is associated with the invitation, a notification will be sent to the hiring manager and the assessment halted. You can adjust the recipient address of this notice in the same manner as the email address error, but with a difference that you can set additional instructions for the candidate in the instance the assessment halts. Though there is a default message already present for this, Berke recommends you build off of this as a starting point if there are specific instructions you’d like candidates to follow, such as who to contact and what they should do next.
Lastly, you can elect to show the candidates an estimation of the time it will take to complete the assessment when they first start the assessment or give candidates the option to start the assessment later once they have verified their information. If you have potential hires who would be concerned enough to delay taking the assessment because of this information, it is recommended you disable their visibility by unchecking the boxes shown next to each option.
Topics: learn the basics